Computer Assisted Art
Getting to know the selection tools....
Lesson inspired by http://juliannakunstler.com/cgr_selections.html
Lesson inspired by http://juliannakunstler.com/cgr_selections.html
Directions:
1. Right Click and save image as a jpeg to your student folder

 2. Open the program Adobe Photoshop on the computer
Create a new file that is 8.5 inches x 11 inches, and 150 ppi
3. We will be using the selection tools for this exercise. The selection tools are located next to each other. We are going to use them all for this project. Some of them will be much easier than the others, but it is important that you try them all.
The first group of selection tools is called "Marquee Tools".
Rectangular and elliptical marquee tools will let you make rectangular or circular selections.
Single row and Single column tools will let you select a row that is 1 pixel high or a column that is 1 pixel wide.
Use the Elliptical Marquee tool to select the circle
To make a round selection you just click and drag the cursor over the area that you want to select.
Try it.
If you want to select a perfect circle (or a perfect square) hold SHIFT while dragging.
If you want to start your selection from the center out hold Option (Alt) button.
If you want both of these options (perfect circle drawing from the center) hold both keys.
Try it!!!
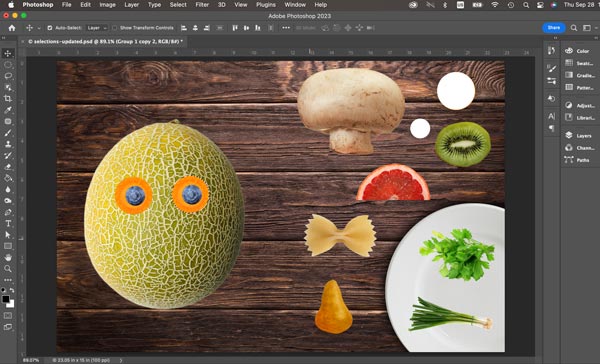
Now zoom in the area with the blueberry. Select it.

Duplicate the two shapes, and now you should have two eyes.
No comments:
Post a Comment