Wednesday, December 9, 2015

Edible Color Wheel

This was a hit with the kiddos!
2 containers icing
2 boxes nilla waffers
Paper
Straws for mixing
= Color Wheel FUN!


Wednesday, December 2, 2015

Drawing (Teacher XMAS) Idea?

https://www.facebook.com/packagingoftheworld/videos/824314924271449/


Wow! We see so much potential in this.Credit: "toper-centage"/reddit http://goo.gl/efomko
Posted by Packaging of the World on Monday, April 13, 2015

Color Theory

KAHOOT QUIZ

Drawing Class Oil Pastel Self Portraits


Monday, November 30, 2015

Crafts Matisse Project

https://youtu.be/pkD_UdquBpc performing arts matisse

Henri Matisse/CRAFTS Computer Assignment
https://artbma.org/flash/F_conekids.swf
Who is Henri?
What was his dog’s name?
Who are the Cone Sisters?
How did Matisse create his art?
What were Matisse’s favorite props?
Tell me about the Moroccan table.
Define Pattern.
Define Rhythm.
Define Complementary Colors.
What effects the mood of a painting?
Print off picture at the end of the prompts- lab black and white


*Bonus*  1 bonus point each. http://www.artsconnected.org/toolkit/explore.cfm
Go to art tool kit link
Click on Explore the Tool Kit
Click on one of the elements/principles of design
Click Find, follow directions, then print
Click Create, follow directions, then print

Wednesday, November 18, 2015

Art Show

We are now excepting entries for the 2015 F.C.H.S. Art Show.


Wednesday, November 4, 2015

Portraits in Drawing

HOW TO RESIZE

1. FOLLOW VIDEO
 WHAT TO EXPECT = WRITTEN INSTRUCTIONS FIRST- DEMO TOWARDS THE END!

2. RESIZE to 6 in x 8 in Please  (MAKESURE YOU ARE USING INCHES not PIXELS)

3.  PRINT 2 COPIES  (ONE WITH GRIDE & ONE WITH OUT GRID)

CHEATER WAY- Download this file and copy and paste grid into your file if you need to.
Grid file https://drive.google.com/file/d/0ByOCbDZ6pxjqSmlLcUliV3ozWWc/view?usp=sharing


Link to Pictures VIA google Docs for DRAWING CLASS.

https://docs.google.com/document/d/1WPSrwUNSVGAWyb3pZKRTlr8VSflNDs-yceQd2xFYHqM/edit?usp=sharing


Wednesday, October 14, 2015

Tuesday, October 13, 2015

Chuck Close Inspired Portraits

Intro to Art.
Please look at the following power point and follow directions on how to edit your reference photo. 

Wednesday, October 7, 2015

Gargoyles & Grotesques


Gargoyle/Grotesque Project

Inspiration:  Labyrinth the movie


Students have been watching clips and getting ideas for the project from Jim Henson's Labyrinth.

Objective:

Create a gargoyle or grotesque creature inspired by Jim Henson's puppets out of paper mache.


1. Brainstorm
2. Sketch out ideas & decide
3. Breakdown sketch into individual parts
4. Decide how you are going to make it three deminsional- cardboard, tape, crumpled paper, shaped paper, wire, tin foil
5.  Get sketch approved by Mrs. Hurd


Tuesday, October 6, 2015

Fairfield Fall Paint Out


I will be helping again this year with the kids paint out.  It will be this Saturday (Oct. 10th) 10am-12.  Hopefully I will have some student helpers show up.  I'm sure it will be a fun time.
Here is a link for more information. And a picture of a past year.
https://sites.google.com/site/fairfieldpaintout/kid-s-paint-out


Wednesday, September 16, 2015

Organ/ Tissue Donor Poster Contest


https://www.americanschoolofcorr.com/organtissue-donor-awareness-student-poster-contest-announced
Sponsored by Illinois Secretary of State

Drawing students will be creating original posters to be sent into the Illinois Organ Donor Poster Contest.

Some slogan ideas....


  • Story of Life After Death
  • With your help the world will keep turning
  • Love, Life, Donate
  • Live life and pass it on
  • Recycle Yourself
  • Sharing is Caring
  • Donating is proof there is life after death
  • Give the gift of life
  • The gift that keeps on giving

Sculpture Introduction to Robert Indiana


Who is Robert Indiana?  Research & Create!


Get to know the artist


Art Zinger:  Use Mr. Indiana's LOVE sculpture & print for inspiration. Create your own word drawing.  Stack, loop, tangle the letters...add color.


Tuesday, September 15, 2015

Drawing Critique

We will have group art critique on Wednesday.  We will be looking at your final Jasper Johns project. First rate your success with the rubric, then we will evaluate the groups work via the critique ball.


Monday, September 14, 2015

Texture Landscape

Sculpture Class
When you are finished with your Landscape Project, please read through the rubric and rate yourself.
Turn in to Mrs. Hurd to complete grading process.


Thursday, September 10, 2015

Postitive and Negative Fun in the Artroom

This week Intro. to Art students learned all about positive and negative space/shapes.  After defining vocabulary words and a warm up sketch they were ready to start the group project.
Objective:  Students were to find interesting shadows around the artroom, trace them onto newsprint using graphite pencils (discussed composition & overlap), and finally add colored pattern into the negative space using markers.
It was great to see the students enthusiasm!  Keep up the good work Intro Students!  More finished examples to follow.


I'm sure after this exercise you will all be ready for observational drawing next week!  Here is a sneak peek...

Tuesday, September 8, 2015

Texture Landscape Collage

Sculpture Class
We have been talking about texture- Real & Implied, as well as Abstracted.
Today I want you to put that knowledge to use.
Example Artist:http://www.contempafricanart.com/artist.asp?id=RosemaryKaruga&inl=1

Objective:  We will be creating a Textured Landscape Collage.

#1 Watch video below, google textured landscape collage to see examples, google landscapes to find a reference photo.  Copy and paste reference photo into Microsoft Word...crop, adjust color, and/or resize as needed.


 #2  Use printed refence photo, and create a simplified sketch in sketchbook.  Make sure to fill up the entire space.  Look at reference photo and break it down into simple shapes.  Watch demo below.


Squint your eyes and look at your picture.  Sometimes this help the simpler shapes appear more visible.  This technique tunes out the extras.


No focus on the contours of the shapes you see and begin drawing.  Use a pencil and draw lightly until you are happy with the composition.  Draw what you see!  At that point you may sharpie your lines.


See the simple shapes, and outlines? Here is what the finished line drawing should look like.


Now its time to choose a color scheme.


Friday, August 21, 2015

How to take notes in the artroom

Hi guys.  Today starts the second week of school.  It also starts the begining of our first official project.  Before we get started I want to go over how to take visual notes in your sketchbook.


Now that we understand that we will learn about the famouse American artist Jasper Johns.
Our project will involve creating an Abstract Lettering Design.


Wednesday, August 19, 2015

Day 1 of 123d-Monsters


These are the examples of students that turned in/emailed their projects.

123D Sculpt Day 2

Alright now that we've had time to learn the basics, we are going to follow along with video #2. Everyone grab and ipad. Let's get started.

Art Zinger: On a piece of computer paper, write your name and class hour. 
                     Draw the icon that corresponds with the meaning.
1. Bloat/bubble out ward
2. Smooth
3. Carve
4. Adds textures or facial features
5. Creates long spikes/pulls the clay outward

Please turn into the 6th hour tray when complete.

Now let's watch the video.


Tuesday, August 18, 2015

Sculpture 123D

Today we will be experiementing with the concept of 3 deminsions using the ipads.  123 Sculpt is an app that replicates building with clay.  To start we will define these three terms: sculpture, subtractive, & additive.
Then we will experiement and familiarize our selves with the app.  The end goal will be to create a 3-d monster bust.


¥Sculpture is three-dimensional artwork created by shaping or combining hard materials, typically stone such as marble, metal, glass, or wood, or plastic materials such as clay, textiles, polymers and softer metals. The term has been extended to works including sound, text and light.
¥There are 2 types of scultprue:
      Subtractive process
      Additive process
¥Subtractive sculpture is the oldest form of sculpture and involves removing material, as in wood carving or stone sculpture, to create a finished work. Subtractive sculpture is by far the most technically difficult and due to the nature of the medium is the most restrictive in expression
¥Additive sculpture describes all other forms of sculpture and the process most commonly used today.  Simply put, additive sculpture is the process of creating sculpture by adding material to create the work. 

Here is our first demo...

Welcom Back!!

Hi everyone.  I am so excited about this new school year!!  I have a lot planned.
Here is a copy of the Art Room Rules.

*Please don't forget to sign up for Remind 101.
Instructions are in the class tabs.  Just click on your class, and follow the directions.
I am also class of 2017 sponor, and art club sponsor.


Monday, May 18, 2015

Photoshop: Transform Someone into a Huge, White Chalk, Wall Drawing

Watch the tutorial. If you do not have headphones, click the CC (closed captions) button so that you may follow along with the tutorial.

Your finished Chalk Wall drawing is due Wednesday.
Email PHOTOSHOP FILE TO MRS.HURD!!!!!

Perspective Review

Words in 1pt Perspective!!

Step 1:
Create a top line and a bottom line for your letters.
Make sure to follow these.  Each letter must touch the top and each letter must touch the bottom.
Try to measure so that your lettering is equally spaced!

Step 2:
Draw a horizon line at the top of your paper.  Put a dot (vanishing point) on the center of that line.
Connect all corners to that vanishing point.


Step 3:
Finish off your shadows and shade in with pencil.  Shade in the direction of your perspective lines.


Friday, May 8, 2015

Wednesday, May 6, 2015

Mandalas with Intro. to Art

                          
Students will view ppt, define vocabulary words, and create a mandala.


                            Radialsymmetry from Natalie Hurd


Thursday, April 30, 2015

Soft Sculpture Project

Crafts Class (Senior's Last Project)
Update: Paper Patterns and Cutting out fabric.

Pick out fabric.  Look through fabric bin.

Look at your sketch and figure out what 3-D shapes you want to make.

Draw out the shapes.  Each shape is probably going to be cut out at least twice (front and back)....

Pin patter to fabric and cut out.

Monday: We will review the ppt in class together.  Next we will go to the computer lab.
Once there you are to-
  1. Finish Worksheet #1Research & Sketch
  2. •Print References
  3. •Finish Worksheet #2Drawing & Plan
  4. •Bring in old clothes, fabric & notions for next class
    What are notions?  Buttons, beads, sequins, etc...


Tuesday, April 28, 2015

Watercolor Portraits

Graphic Design
UPDATE


Yesterday you created a new 8x10/200 ppi document.  The document should have 6 different layers.  Each layer should have a watercolor splatters or drips with no background (all the white was deleted using the magic wand tool).

Today you will begin to create a watercolor portrait.
In this assignment you are to turn three high contrast, interesting, and complex portraits into a watercolor interpretation.

You will be graded on:  Composition:  Good use of space, High Contrast Images, How well the image translates using this technique, Are facial fetures readable and clear (eyes, nose, mouth, hair, clothes, etc...)  Effort:  took time to develop idea & complete project? (Didn't rush, or get on youtube all hour)  Good use of class time?  Maintained positive attitude throughout project; compliant; listend and followed directions.  Details:  Did you go avove and beyond the minimum requirements?  Did you find your own textures, papers, and details?

Lets Get Started!


First find an image that is high in contrast and in black and white- EXTREME HIGHLIGHTS AND SHADOWS!

TIPS
* I googled black and white photography and found this image.* Close up images work the best
* Google search black and white photography or high contrast portraits
* Look for highlights and interesting shadow shapes

* Concentrate on the whole picture- the composition. 
* You may even want to crop image into a pleasing arrangement


Open photoshop and create a new 8x10/ 200 ppi document.
Open your photo you found.  Ctrl + T to resize.
Create a duplicate layer of your image.
At this stage you should have a blank white background, and two layers with your photo on them.
Name the layer above the bacground orginal.
Name the layer abaove that High Contrast/ Filter Layer.
Adjust the high contrast layer using <Image<Adjustments<Brightness Contrast
Use a filter on this image.  For the first one use cutout, but you can experiement with your other two pictures.  <Filter<Artistic< Cutout
Create a Duplicate Layer of this cutout layer, name it threshold.
<Image<Adjustments<Threshold<152
Select Multiply for blending mode and merge both the cutout filter layer and the threshold layer.
Open watercolor file
Select all and copy
Paste onto the merged layers
At this point you should have a background, orginal, high contrast filter layer merged, and a watercolor layer.
Go to the High Contrast/FIlter layer merged- CTRL + A (Select All) Then hit CTRL + C (Copy)
Click layer mask
Pres Alt + Click on layer mask (you should see white)
Hit Ctrl + V (Paste), and then Ctrl + I (Invert Colors)
Click back on the image
Choose a paper texture.
Copy and Paste paper texture on top of your layers; select blending mode such as linear burn.
Add extras and details- more splatters, shadows, etc...
Repeat all steps two more times to create a totoal of three portraits.
Save images and email jpegs to Mrs. Hurd


Still Confused???
Try out these links for more info

https://www.youtube.com/watch?v=Rs0NFNpdzwY
http://retnokurnianingsih184.blogspot.com/2012/10/creating-abstract-watercolor-wallpaper.html

Monday, April 27, 2015

Traveling Gnome Assignment

Introduction to Art

Day 1:  Today we will be learning how to draw a gnome.

Everyone should get out thier sketchbook, pencil, and an eraser.  We will follow along and draw a gnome.

LET'S GET STARTED!


Here are my examples from the guided dawing during 7th and 8th hour!


Day 2:
Brainstorm using this worksheet.  You may work in pairs.  We will be going to the computer lab to find a picture for your traveling gnome.  Where will your destination be?


Day 3:  We will grid and begin drawing our polaroid of you very own traveling gnome!


Tuesday, April 21, 2015

Texture Mapping

Graphic Design:
Read throught the ppt below.  After you read the ppt answer the following questions via email-  Copy and paste question into an email, answer, and send to Mrs. Hurd.  Some answers are review of PS tools. 25pts.  Due by the end of the hour!  

Begin on the 6 images when finished with the questions.  The final images will be due at the end of class on Monday.


1 What is texture mapping?
2 Who uses texture mapping?
3 What movie had over 2500 visual effects using texture mapping?
4 What element played a critical role in creating those effects?
5 How will you remove part of the texture layer to fit the image better?
6 Where are the blending options located in Photoshop?
7 How do you change the blending options?
8 Where can you find the option to adjust the hue/saturation?
9 What is your favorite blending mode?
10 How do you create a duplicate layer?
11 How do you create a new layer?
12 Where is the layer masks located?

Email the 6 finished projects to Mrs. Hurd.
Include how you achieved effects in the email. 100pts.


Friday, April 17, 2015

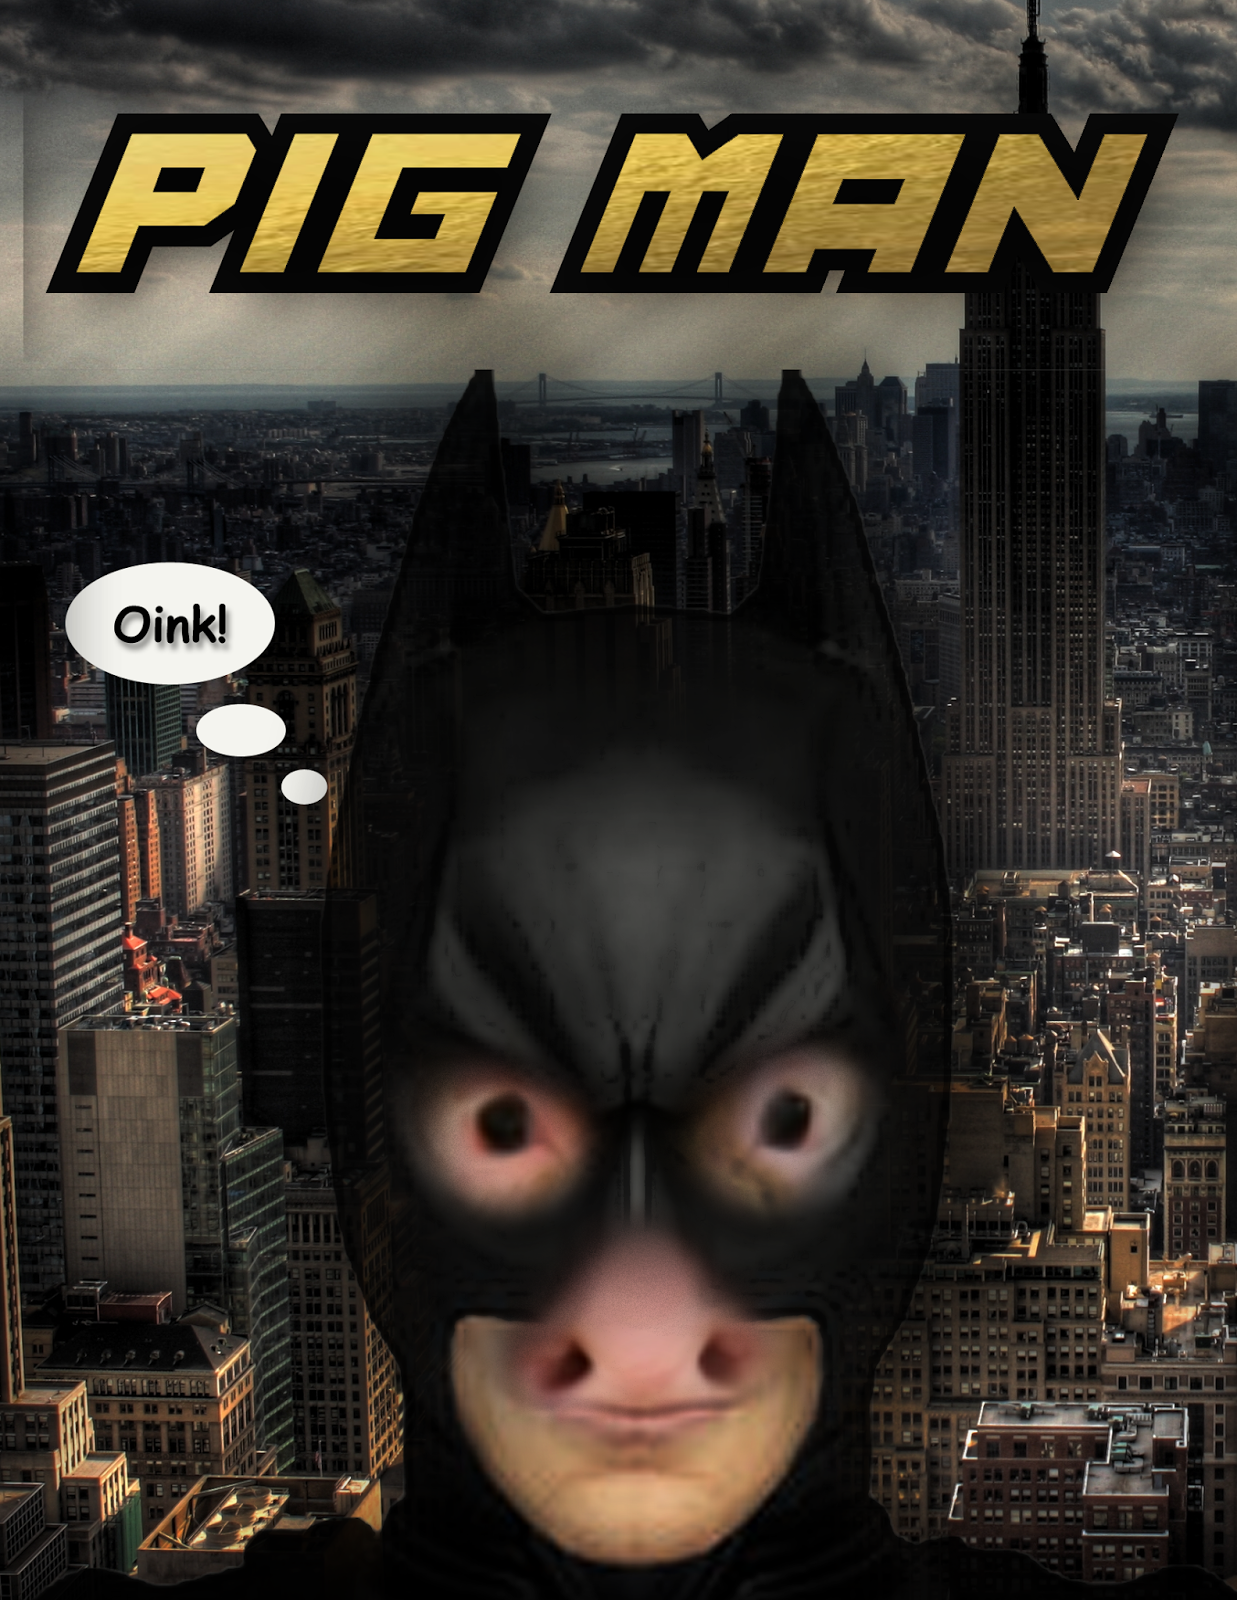
Manimal Experiment

Here is my finished example.
It includes:

Clone Tooled animal face
Text with overlay
(like previous project)
Background
Drop Shadow
Duplicate layers with blending options & filters
Shape Tool Shapes


What does yours have?????

Don't forget to include that in the email with your jpeg.


Graphic Desgin:
Please read through the power point and follow the instructions.
You will be creating a "Manimal" (a combination of a celebrity and an animal).  This exercise is a review of the clone tool.
Document Size: 8.5 x 11
                        200 ppi

*Tip:  I opened up two blank documents in photoshop each 8.5 x 11 200 ppi
From there I copied and pasted each image onto it's own document.
CTRL + T to resize to fit

Here is a screen shot of mine in progress-


Good Luck!