1. Hi guys, for our next project we will be creating Micography Drawings.
Micography is Micro (small) Graphy (words). The project will focus on creating a high emotion, balanced piece of work with lots of extreme values using an ink pen.
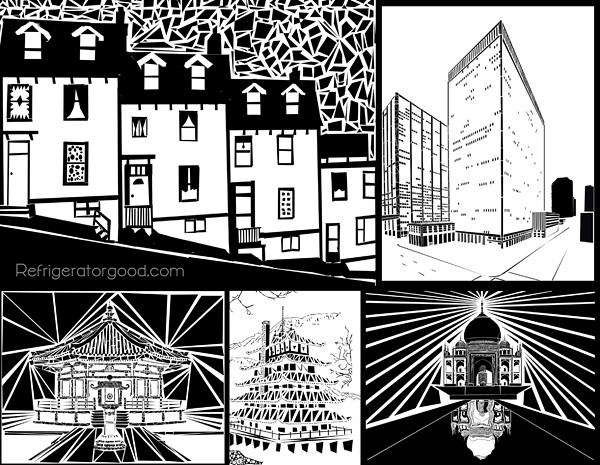
Yesterday we created the background, bubble paintings. Micography drawings is an ancient art form, and use text as value. Big loopy text = a lightly value Small overlapping text= a dark value. I have posted some previous student examples and one of my examples above. Please use the internet and find a school appropriate photo. I suggest working with images that are cropped close and use large objects.
For example:
A person's face
A selfie, or a group selfie
An animal
A sport's jersey
A pair of shoes
A guitar
Famous person, place, or thing
2. Next, after you find your photo- Open Google Docs or Microsoft Word
Paste image into document
Resize (6 inches by 8 inches)
3. Double click on the image, and click on image options.
4. Click "recolor" and choose "grayscale"
5. Adjust the "Contrast" and "Brightness" as needed to create a well-balanced image.
6. Print off two copies of your 6x8 image.
7. Look up quotes, stories, poems, song lyrics and other words to use in your micography piece. The words should aid in adding meaning to your art project.